- Home
- Contact Paper Solutions for Stylish and Durable Cabinet Door Makeovers
Sep . 28, 2024 19:39 Back to list
Contact Paper Solutions for Stylish and Durable Cabinet Door Makeovers
Understanding Contact Paper for Cabinet Doors A Practical Guide
In recent years, home improvement enthusiasts have increasingly turned to contact paper as a quick and budget-friendly solution for updating the appearance of their cabinet doors. This versatile adhesive material is not only easy to use but also comes in a wide variety of designs, making it an attractive alternative for those looking to revamp their kitchens or bathrooms without the hassle and expense of a full renovation. In this article, we will delve into the benefits of using contact paper for cabinet doors, how to properly apply it, and some design ideas to consider.
Benefits of Contact Paper
One of the most significant advantages of contact paper is its affordability. Compared to repainting or replacing cabinet doors, using contact paper can save you a considerable amount of money. Furthermore, it is readily available at most home improvement stores or online, with a wide range of colors, textures, and patterns, allowing homeowners to easily find an option that complements their existing decor.
Another benefit is the ease of application. Contact paper typically comes in rolls, making it simple to cut to size and apply directly to your cabinet doors. Unlike paint, there is no drying time required, enabling you to transform your space in just a few hours. This quick turnaround is ideal for those who want immediate results without the inconvenience of a lengthy renovation process.
How to Apply Contact Paper
Applying contact paper to cabinet doors is a straightforward process, but it requires some preparation to achieve the best results. Here are the steps to follow
1. Clean the Surface Begin by thoroughly cleaning the cabinet doors to remove any grease, dirt, or grime. A clean surface ensures better adhesion and a more polished final look.
2. Measure and Cut Measure the dimensions of each cabinet door and cut the contact paper slightly larger than the measurements. This extra margin will allow for easier handling when applying.
3. Peel and Stick Start at one edge of the cabinet door and peel back a small section of the backing paper. Align the contact paper with the edge of the door and gradually press it down, smoothing out any bubbles as you go. Continue peeling the backing and applying the contact paper until the entire surface is covered.
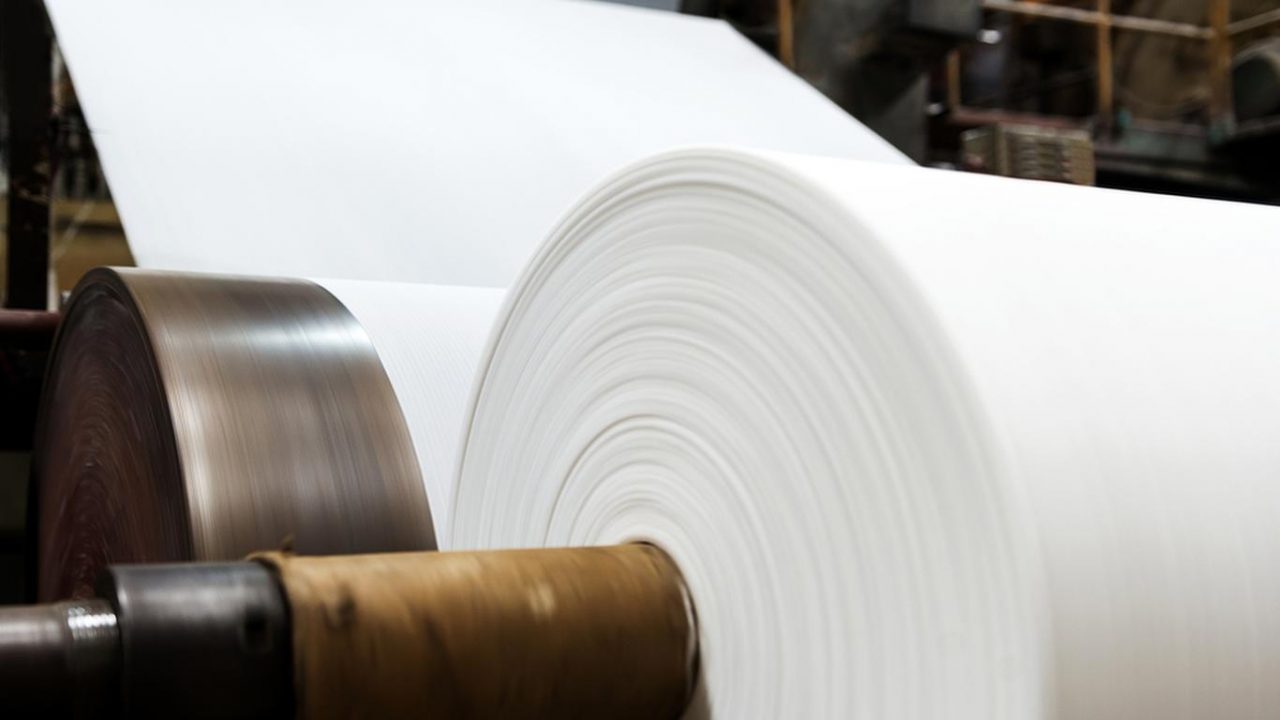
contact paper for cabinet doors products

4. Trim Excess Once applied, use a sharp utility knife or scissors to trim away any excess paper along the edges for a clean finish.
5. Seal the Edges For added durability, consider sealing the edges of the contact paper with clear waterproof tape or a similar product to prevent peeling or lifting over time.
Design Ideas
The design options available with contact paper are nearly endless. Here are a few creative ideas to help you get started
- Bold Patterns Opt for vibrant geometric patterns or florals to make a statement and breathe new life into your kitchen or bathroom cabinets.
- Wood Grain Finishes If you love the look of natural wood but want a more accessible option, consider using contact paper that mimics wood grain. This can give your cabinets an upscale appearance at a fraction of the cost.
- Two-Tone Effects For a trendy look, consider using two different contact papers—one for the upper cabinets and another for the lower ones. This can create visual interest and depth in your space.
- Chalkboard Contact Paper This fun option allows you to write notes or grocery lists directly on your cabinet doors, combining functionality with style.
In conclusion, contact paper for cabinet doors is a fantastic solution for those seeking an affordable, easy, and stylish way to update their space. With a bit of preparation and creativity, you can transform your cabinetry to suit your personal style and enhance the overall aesthetic of your home. Whether you’re looking for a quick fix or a bold makeover, contact paper may be precisely what you need.
Latest news
-
High-Quality Bathroom Cabinet Contact Paper – Durable & Stylish Leading Suppliers, Exporters, Manufacturers
NewsJul.08,2025
-
Premium Wood Contact Paper for Desk – Reliable Suppliers & Exporters
NewsJul.08,2025
-
Premium Contact Paper for Table Top – Durable & Stylish Surface Solution from Leading Manufacturer
NewsJul.07,2025
-
Duplex Board with Grey Back - Reliable Supplier & Competitive Price Manufacturer & Exporter
NewsJul.07,2025
-
Premium White Contact Paper on Cabinets – Trusted Exporters & Suppliers
NewsJul.06,2025
-
High-Quality Duplex Board Packaging for Food Reliable Manufacturer & Supplier
NewsJul.06,2025

